![[original_title]](https://rawnews.com/wp-content/uploads/2024/09/PC-Build-Thread-2020-and-beyond-Page-28-1024x906.jpeg)
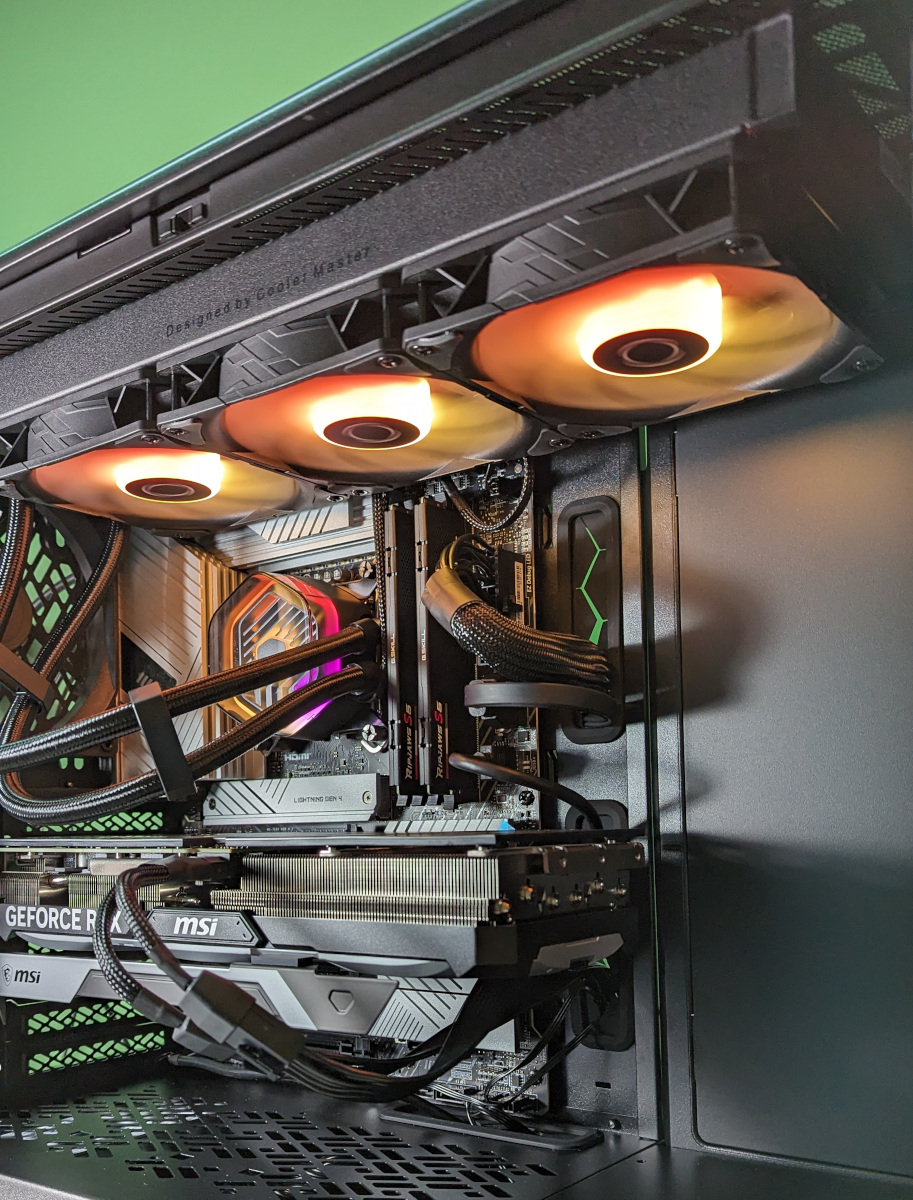
The liquid cooler was a enjoyable problem. Not just for putting in the built-in radiator / fan meeting, however detangling the wiring. The followers (and pump) are wired for each RGB and Adaptive RGB (ARGB) lighting. I made a decision to go along with RGB. I linked the followers to the devoted motherboard RGB connector by way of a 4-to-1 cable harness (3 followers + pump RGB). In order for you ARGB, the suitable USB adapter and cables are equipped.
I am glad the motherboard was designed for liquid cooling, because it has a devoted “Pump” connector which has a better present output than the opposite fan connectors. I plugged the pump connector into that, and the radiator followers into the CPU_Fan connector by way of a 3-to-1 fan harness adapter cable.
Here is what I ended up with:
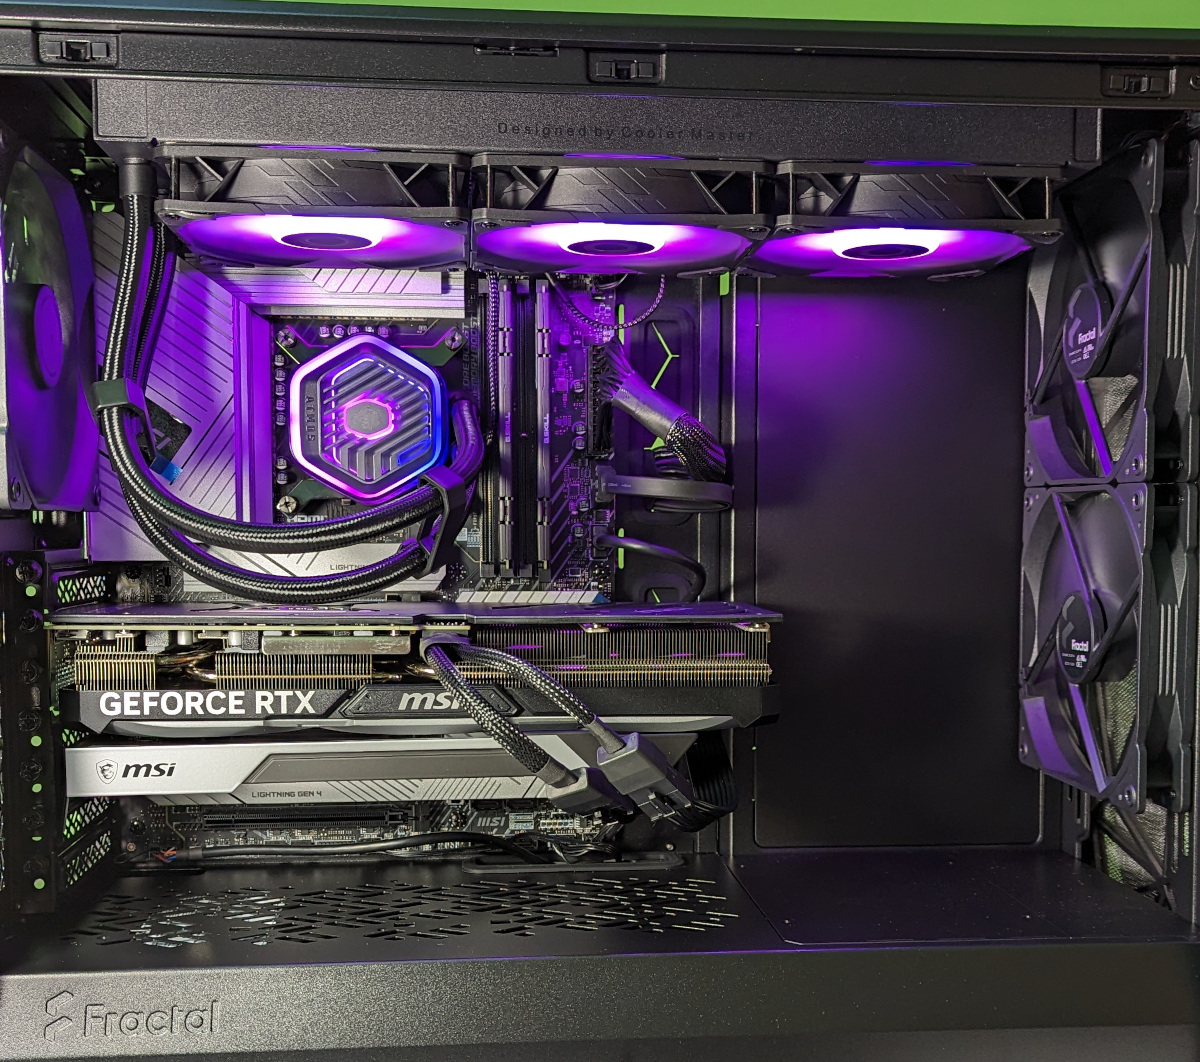
The aluminum heatsink (stamped “Lightning Gen 4”) simply above the GPU is protecting the primary M.2 slot. I’ve my Samsung 990 1 TB SSD mounted there. Not proven is a SATA SSD mounted on the bottom panel. (Whereas I used to be ready for elements to reach, I consolidated my dual-boot Linux / Home windows configuration right into a single drive on my previous PC. I then cloned the contents onto the brand new Samsung 990 SSD.)
Be aware the Y-cable harness on the facility connector. These playing cards draw a ton of present and have to be fed utilizing two PCIe energy cables. The Y-cable was equipped with the cardboard.
The GPU help bracket is just under the GPU marked as “MSI”. It is connected throughout the highest of 4 slots and is held in place by the slot screws.
Just under the help bracket is the aluminum plate heatsink (stamped “Lightning Gen 4”) protecting 2 extra M.2 slots.
This view provides a special perspective.
At first power-up, every little thing turned on as anticipated. Besides there was no video output in any way. After ready a couple of minutes deciding learn how to proceed, the PC booted into Home windows 11. I am guessing it simply wanted the additional time to configure itself.
I then observed that my keyboard was not being acknowledged at boot. ![]() That is a serious drawback, as you’re blocked from doing something. Are you able to enter BIOS? Nope. Unplugging / plugging in later labored fantastic, however nothing was acknowledged at boot. The mouse was OK.
That is a serious drawback, as you’re blocked from doing something. Are you able to enter BIOS? Nope. Unplugging / plugging in later labored fantastic, however nothing was acknowledged at boot. The mouse was OK.
After shedding a couple of hours on this, Google lastly got here up with the reply. MSI has a recognized drawback of discovering keyboards over USB 3.0. My motherboard again panel has 6 USB ports. 4 x USB 3.0 ports and a pair of x USB 2.0 ports. The panel is not marked for that, however should you learn the guide and see the image which reveals the mouse and keyboard linked to the USB 2.0 ports (the black coloured ones), you will rapidly perceive why they did that. I plugged my mouse and keyboard into the USB 2.0 ports and the keyboard labored (together with the mouse). Irritating.
The opposite frustration was Home windows 11. When the drive was on my previous PC, I did a clear set up and activated the license utilizing my current Win 10 product key. After transferring the SSD to my new PC, Home windows 11 refused to activate. Lengthy story brief, I obtained it activated by way of cellphone. Tip: Use a cellphone. After getting into these 9 teams of 6 characters on the keypad, Microsoft will textual content you with the corresponding 9 teams of 6 characters which validate the activation.
I had to do that twice as a result of Microsoft wished to know what number of copies use this license. I mistakenly answered “1” however they actually meant what number of different copies are put in. This time, I answered “0” and my license was activated. The license now reveals in my Microsoft account.


